
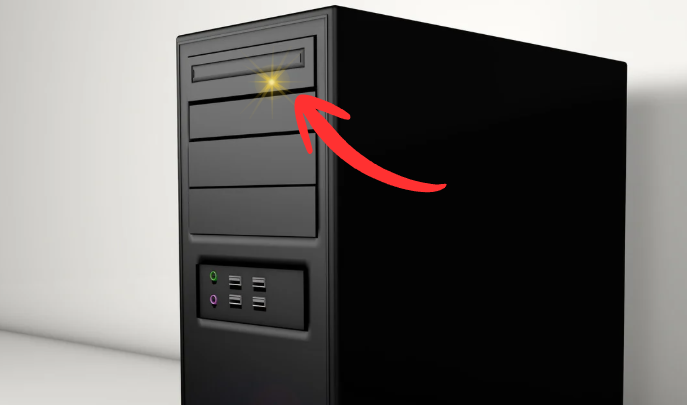
I have spent years in troubleshooting PC hardware issues, and learned that most warning lights look scarier than they actually are. Recently, my desktop showed an orange light on the motherboard, and the system refused to boot (turn on ). Based on my experience, I knew this was likely a hardware connection issue and I was right.
In this post, I’ll explain how I diagnosed and fixed the problem step by step, using practical methods I rely on in real troubleshooting situations.
Understanding What the Orange Light Means
From a technical perspective, an orange (or amber) light on a PC motherboard usually indicates a hardware-level problem. In many cases, it points to issues with:
- RAM seating or compatibility
- Power delivery to the motherboard
- BIOS or motherboard configuration
Instead of guessing, I approached the problem using a structured troubleshooting process.
Step 1: Power Reset and Safety Check
My first step was a full power reset, which I always recommend before touching internal components. I shut down the PC, unplugged the power cable, and disconnected all peripherals.
I let the system sit for a few minutes to discharge residual power. This simple step can eliminate minor electrical faults and prevents accidental damage during inspection.
Step 2: Inspecting and Reseating the RAM
Based on experience, RAM is one of the most common causes of motherboard warning lights.
I opened the case, removed the RAM modules, and inspected both the sticks and the slots. After cleaning the slots with compressed air, I reinserted the RAM firmly until it clicked into place.
This step alone resolves a large percentage of orange light issues—and in my case, it turned out to be the main fix.
Step 3: Verifying Power Connections
Next, I checked all internal power cables. Even a slightly loose connection can cause startup failures.
I made sure the following cables were properly seated:
- 24-pin motherboard power cable
- CPU power connector
- Graphics card power cable
One connection was not fully secure, which explained the inconsistent power signal.
Step 4: Resetting the BIOS (CMOS Reset)
As a precaution, I performed a CMOS reset, a technique I often use when dealing with boot-related hardware errors.
I removed the CMOS battery (small coin cell on motherboard) for about five minutes and then reinstalled it. This reset the BIOS to default settings and eliminated any potential configuration conflicts.
Final Result and Diagnosis
After completing these steps, I powered on the PC. The orange light was gone, and the system booted normally.
Final diagnosis:
A loosely seated RAM module combined with an incomplete power connection caused the motherboard warning light.
Professional Advice Based on Experience
If you encounter an orange light on your PC, don’t rush to replace parts or visit a repair shop. In most cases, the issue can be resolved with basic hardware checks.
Troubleshooting Checklist
- Power reset the system
- Reseat RAM modules
- Check all power cables
- Reset the CMOS
These steps reflect standard hardware diagnostics used by technicians and can save both time and money.
Pro Tip:
If you are a person who uses computer or laptop daily then you must be aware of simple issue like that. If you are interested in daily tech stuff SUBSCRIBE to Tanzeel Tech.